

The process of transferring a file from your PC to your site is regularly called to as “Publishing” that file or “uploading” it. For the web hosts that support FTP, or the File Transfer Protocol, you require a project called a “FTP client” to exchange the file. You can find a list of number free FTP clients at the provided link – http://www.thefreecountry.com/website admin/freeftpclients.shtml
This articles helps you manage how you can exchange a file to your web server utilizing a free FTP client known as FileZilla. Forms for Windows, Linux and Mac OS X are accessible. I will explain you the Windows variant of this project; however in the event that you utilize another working system, odds are that it will work also.

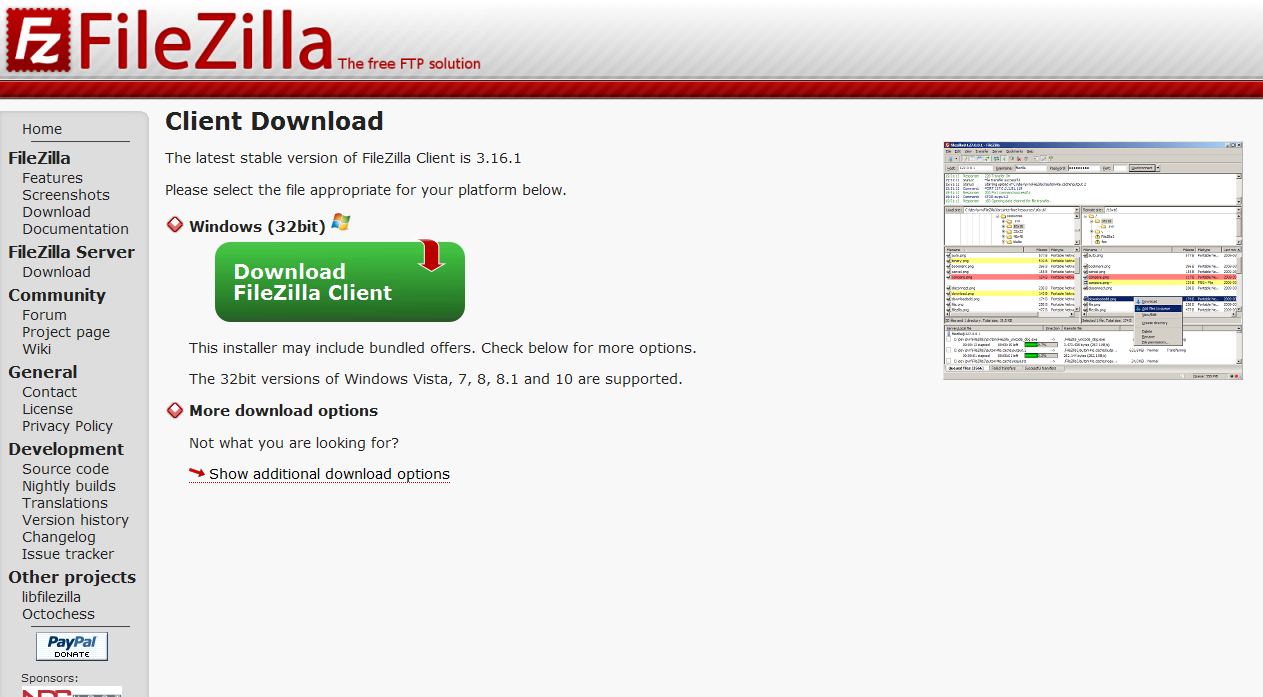
Step 1 – Download and Install FileZilla
First, go to the FileZilla download page and get the suitable form for your system. For Windows, get the Setup version; when you have downloaded the software, you will need to install it. Go to your desktop and double click on the file that you have recently downloaded. Take after the directions to install it to your hard disk.
Before you can transfer any file to your webpage, you will likewise require some data from your web host. Specifically, you should find out the following:
- The name of the FTP server for your site. For instance, your host might let you know that your FTP hostname is “ftp.example.com”.
- Your client id or login username for your FTP account.
- Your secret word for your FTP account.
- The index where you have to put your files with the goal that they can be seen by a web program going to your webpage. For instance, your host might instruct you to put the files in a subdirectory called “www” or “public_html” or even the default registry that you see when you sign into your FTP site.
If your web host lets you know that you don’t have FTP access, you can’t utilize this article. You will need to use whatever technique the web host has assigned for you to transfer your files.
Steps to Upload or Publish a File to Your Web Server
- With the main goal of this article, I will expect that you wish to transfer a file called “feedback.php”. Everytime you see “feedback.php” said, you can substitute that name with the name of the file you really wish to transfer. FileZilla does not confine you to transferring just files of that name. You can also transfer the pictures (eg, GIF, JPG, PNG, and so forth), HTML files, video cuts, music files (eg. MP3 files, WAV files, MIDI files), Perl scripts, PHP scripts, etc. For the inquisitive: I use “feedback.php” as the illustration file since this aide was initially composed to offer the individuals who some assistance with using my free Feedback Form Wizard to transfer the produced structure to their site.
- Click on the “File” menu took after by the “Site Manager” thing on that menu. A dialog box will show up.
- Click the “New Site” catch on that dialog box. This makes another thing under “My FTP Sites” called “New FTP site”. Rename “New FTP site” to the name of your site in the event that you wish. Of course, the console cursor would have been put in the name bit of “New FTP site” permitting you to change the name quickly. On the off chance that you have lost the cursor since you unintentionally clicked elsewhere in the dialog box, you can get it back by just clicking once on the name. Note that this name can be anything you wish – it is not required for getting to your site. Nonetheless, you will most likely make your life less demanding in the event that you change the name to that of your site instead of the obscure “New FTP site”.
- Under the tab “General”, enter the name of your FTP server in the “Host” info box. For instance, if your web host let you know that your FTP hostname is “ftp.example.com”, enter “ftp.example.com” into the space gave.
- Leave the “Port” and the “Servertype” section boxes alone. Utilize your mouse and select “Typical” starting from the drop list box for “Logontype”. This will empower the “Client” and “Secret key” boxes for the following step.
- Enter your client id or your login name (or whatever your web host calls it) into the “Client” data box. Similarly, enter your secret key into the “Watchword” data box. Note that this data is consequently spared onto your PC and will be re-utilized whenever you run FileZilla, so you don’t need to re-enter them once more. (It likewise implies that you ought not utilize FileZilla along these lines on PCs that others might have admittance to, for example, those found in an Internet bistro or an open library.)
- Click the “Interface” catch. FileZilla will continue to log you into your server. On the off chance that it is effective, you will see a catalog posting of your site’s file in the right hand side of the FileZilla window. The left hand side of the FileZilla window demonstrates the catalogs and files all alone PC.
- If your web host instructed you to just transfer in a particular subdirectory on the web server, for example, in the “www” or “public_html” catalog, change to that registry by doubleclicking its name in the organizer bit of the right window sheet (the “Remote Site” window sheet). FileZilla will open that envelope and demonstrate to you its content in the files part of the Remote Site window sheet.
- Next, find the file that you wish to transfer in the left window sheet (the “Neighborhood Site” sheet). Both window sheets act generally like a Windows Explorer windows, so exploring them need not be unduly hard. When you have found the file you wish to transfer, say “feedback.php”, double click it to transfer it to your site. Then again, you can drag that file from the left window sheet to the right window sheet. The file will be transferred to the envelope that is as of now open on the right window sheet, so ensure you have changed to the catalog you need before dragging the file there.
- As FileZilla continues to transfer your file to your site, you ought to have the capacity to see the transfer improvement in the bottommost window sheet in FileZilla. At the point when the transfer has finished, you can separate from your site. Do this by tapping the “Server” menu took after by the “Disconnect” thing.
So finally you are now done with transferring a file to your site utilizing a FTP client, FileZilla.