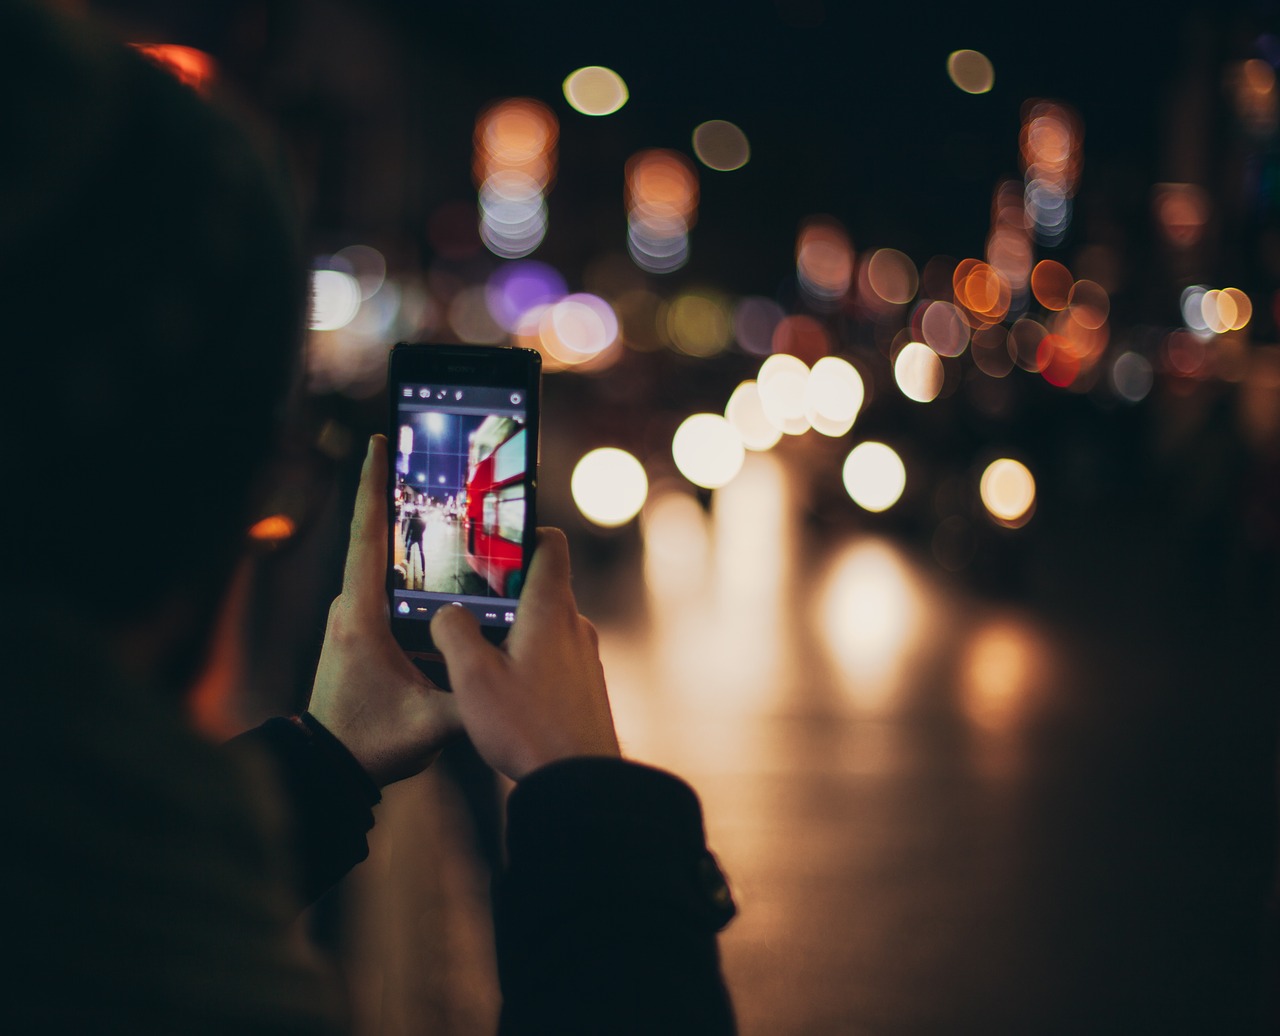
It is no surprise that with advancements in camera technology on smart phones, photography has become more accessible to the average person. Cameras in phones have become so clear, sharp, and high quality that they can even be used to take professional grade photos. Whatever your subject matter, beautiful images can be made with just an iPhone. However, you should know how to use all the features available to you to best utilize your setting, subjects, and surroundings. Here are a few tips to take better street photography with your iPhone.
Set the Focus
Setting the focus is a simple thing you can do to improve the quality of your photos. As it turns out, autofocus doesn’t always focus on the objects and people you want it to. Don’t rely on autofocus, it is almost always better to set the focus point manually. Start by composing your shot. Tap the screen where you want to focus. Clicking on the focal point, you will see a yellow box appear where the camera is focusing. Take your photo and the focal point will be sharp and crisp.
Clean your Lens
A basic solution to taking better photos out on the street is to clean your lens. Our phones are constantly being handled or put into our pockets. The camera lenses get dirty and they are dirty smudges are left on the photo. You should always clean your lens, but especially when you are in a dirty setting. It may sound simple, but it can change everything about your photo.
Use HDR
Another option to take photos with better contrast is to capture detail in both shadows. There are typically two problems that happens,–either the highlights will be exposed correctly or the shadows will be too dark. Shadows might be exposed correctly but the highlights may appear too bright. According to the experts at MoneyPug, a site commonly used in the UK to find mobile phone deals, there is a feature that helps you create more evenly photos is called HDR, which stands for High Dynamic Range. This feature allows you to capture in both shadows and highlights.
To access HDR you should first check that your settings are set up correctly. Open the settings app on the home screen and select Camera. Turn Smart HDR off because if it is on you won’t the HDR option. You will also want to make sure that Keep Normal Photo is turned on. This saves a non-HDR version of the photo to your phone. Closet settings and open the Camera app. The HDR icon should be switched on and an icon will appear without a line through it when it is turned on.
Adjust Exposure
If your photos are coming out too bright or too dark, you should manually adjust your brightness. This way you can get the contrast you want and ensure that your photos come out the way you want them to. Adjusting the exposure on iPhone’s camera is pretty easy. You should start by tapping the focus. Then you can swipe up or down to adjust the amount of exposure getting to your photo. Ensuring that the most important parts of the scene are exposed correctly when they have plenty of color and detail. You will also have the option to deliberately under or over-expose your photo. You’ll need to reduce exposure when you’re trying to create silhouettes where your subject is completely black. With an iPhone, it is pretty easy to control the amount of exposure the photo gets.
Pay Attention to Light
After all, photography is the mastery of light. You should always think about the light of the setting and how you can enhance the photo to make the contrast and visibility everything that you want. This is a slightly technical thing but it is more creative than anything. When you pay attention to the light, you will make better photos.
It doesn’t matter if you’re just getting into photography, if you use the technical abilities at your disposal you will have a much easier time being creative. Take the time to learn about your iPhone’s photo features and you will be able to take better photos on the street.

